Exporting
Once your scenario is complete, you can export it to a Connec2 project.
Perform export
In the Workflow section (bottom right), click the Export Project button.
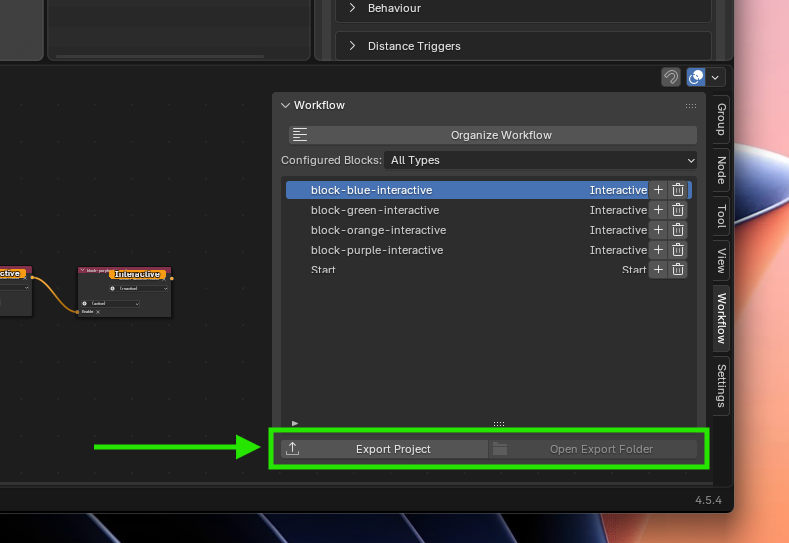
After exporting, you can immediately open the folder via Open Export Folder.
What you get
Blender creates an export folder next to your .blend file.
Inside, you’ll find a folder with your project name. This is your project folder.
export/
  └── your-project/   <-- Your project folder
This project folder is your complete Connec2 project.
Important
- Always upload the entire project folder
- Do not upload individual files
Everything belongs together and only works as a complete package.
Your project is ready to be uploaded to the web portal.
Last updated on