Upload content
To use content in the XR Client, you first need to upload it to your workspace via the Connec2 web portal.
Here you can upload both:
- 3D models (
.glb) - Projects (export folder containing
.c2prj)
Log in to the web portal
Go to:
https://connec2.app/en/login/
- Enter your Workspace ID
- Click Continue
- Log in with your Connec2 account
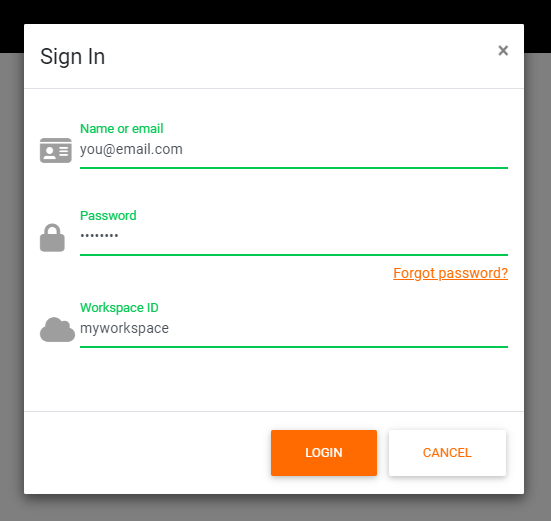
These are the same credentials you use to log in to the XR Client.
After logging in, you will land on the Files page.
Where do you upload?
You can choose between two locations:
- Personal → only accessible to you
- Shared → visible to everyone in your workspace
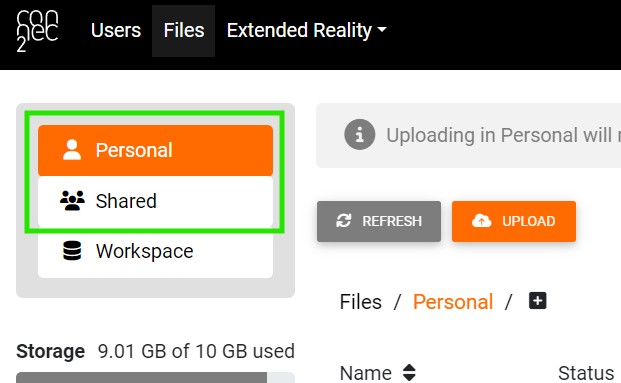
Use Shared when collaborating with multiple users.
Create a folder (recommended)
To keep your content organized:
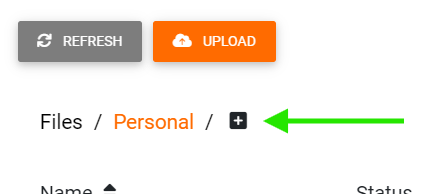
- Click the + icon
- Give your folder a name (e.g. project name or your name)
- Confirm with the checkmark
Upload content
Option 1 — 3D model (.glb)
- Drag your
.glbfile into the browser window - Click Upload
Option 2 — Project (XR Toolkit export)
- Open the export folder of your project
- Drag the entire project folder into the browser window
- Click Upload
Make sure to upload the complete export folder, not just individual files.
Want to learn more about exporting and publishing XR Toolkit projects?
Processing your upload
After uploading, your files will be processed:
- Pending → upload is being processed
- Available → ready for use
Refresh the page if needed.
Depending on the size of your content, this may take a few seconds to several minutes.
What can you do next?
Your content is now available in your workspace and can be used in the XR Client.
Your content has been uploaded and is ready to use in your workspace.
Last updated on