Installation
With Connec2 Uplink, you install a Windows application that gives you access to various features within the Connec2 platform.
You use Uplink to launch the XR Client, manage content, and expand your virtual environment.
On this page, you’ll learn how to install Uplink on your Windows PC.
Download
Download the software via the central download page.
Tip: open this in a new tab so you can continue following these steps.
Installation (recommended)
We recommend installing Uplink via the MSIX Installer. This is the easiest method.
- Download the MSIX Installer
- Open the downloaded file (usually at the bottom of your browser or in your Downloads folder)
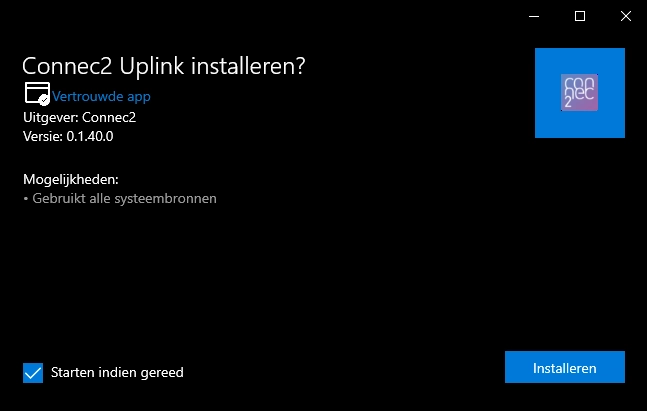
- Click Install
- Wait for the installation to complete
- Launch Connec2 Uplink via the Start menu
Alternative: ZIP version
Unable to install MSIX (for example due to IT restrictions)?
You can use the ZIP version instead.
- Download the ZIP version
- Go to your Downloads folder
- Right-click the ZIP file
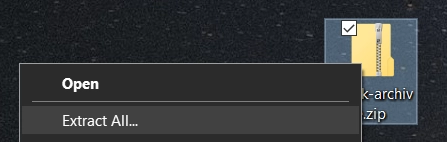
- Select “Extract All…”
- Choose a location to store the files (for example Documents or Desktop)
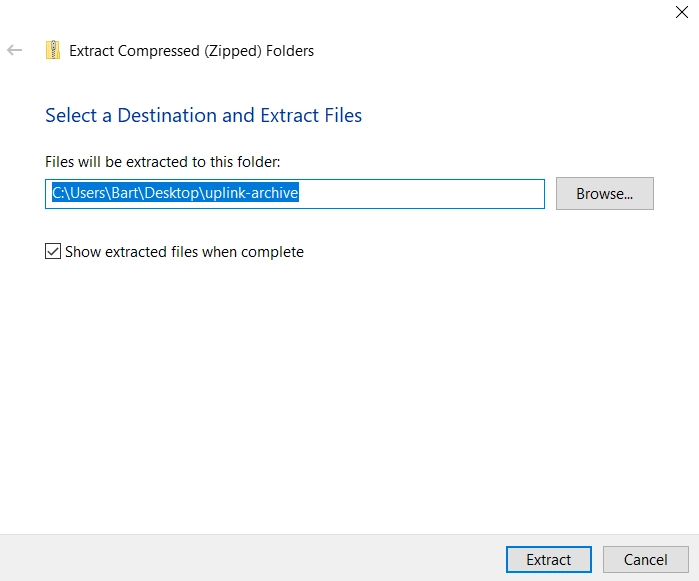
- Click Extract
- Open the new folder
- Double-click Connec2Uplink.exe to launch the application
Note: do not run the application directly from the ZIP file and avoid working from the Downloads folder. Store the extracted files in a fixed location on your computer.