Publish your presentation
The Content → Presentations editor in Connec2 Uplink lets you publish presentations to your Virtual Workspace.
If you haven’t installed Connec2 Uplink yet, see:
👉 Uplink for Windows 10/11 (MSIX Installer)
Step 1 — Export slides from PowerPoint
In PowerPoint, export your deck as individual slides.
Go to File → Export → Change File Type and choose PNG or JPG.
This creates a folder with all slides as images.

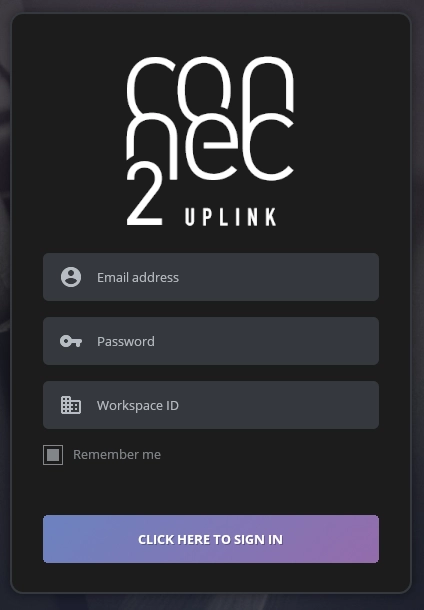
Step 2 — Sign in to Connec2 Uplink
Launch Connec2 Uplink and sign in with your Connec2 Account.
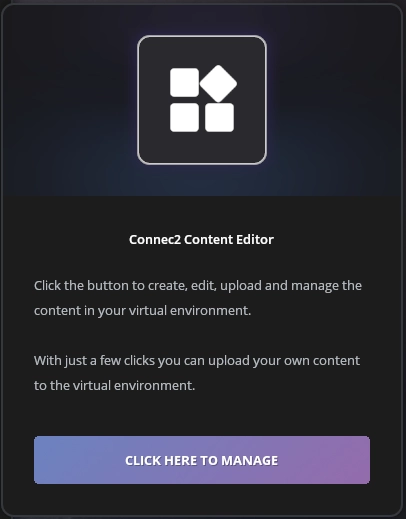
Step 3 — Open the Content Editor
Click Click here to manage to open the Connec2 Content Editor.
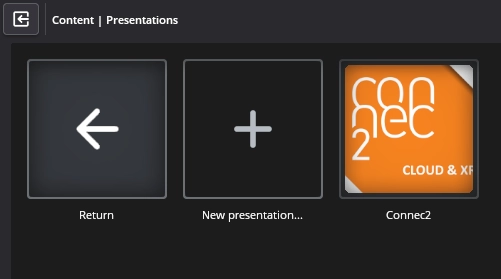
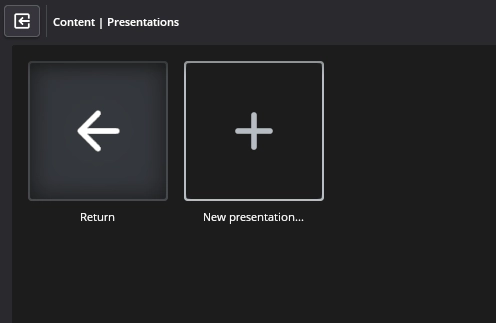
Step 4 — Go to Presentations
Highlight Presentations and click it.
Step 5 — Create a new presentation
Click New presentation….
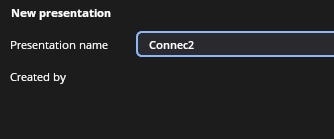
Step 6 — Name your presentation
Enter a name (e.g., Connec2).
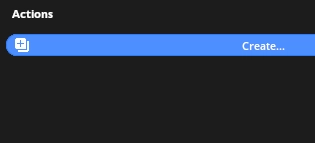
Step 7 — Confirm creation
Click the blue “Create…” button.
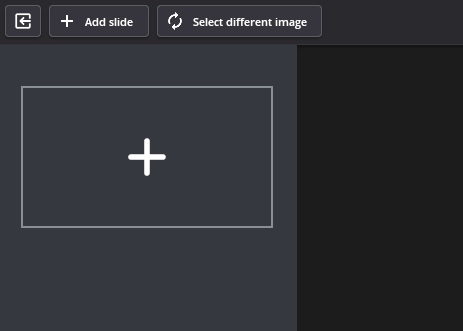
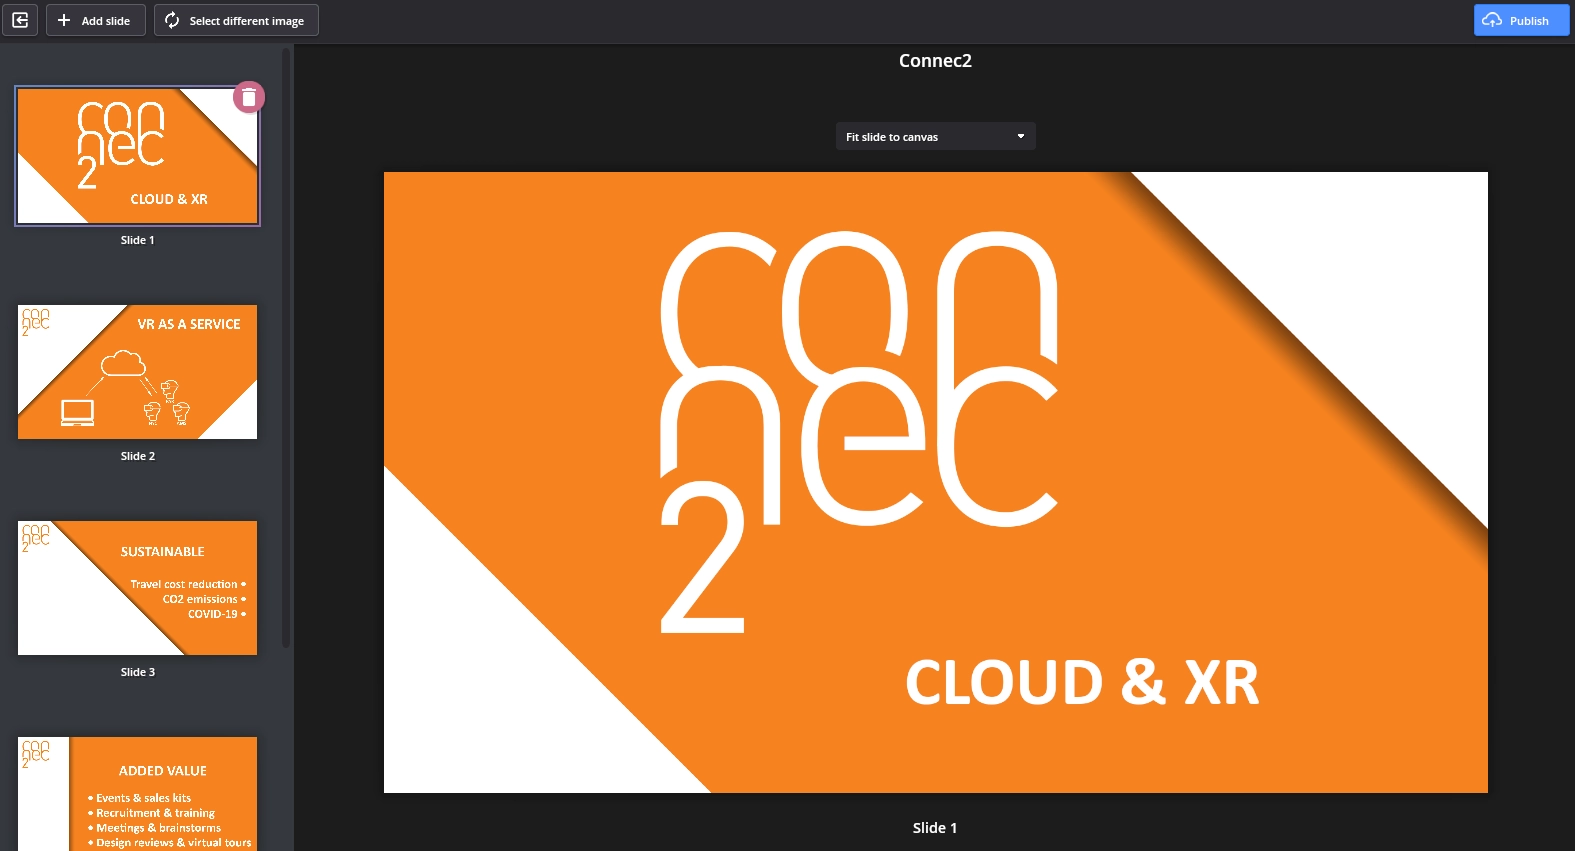
Step 8 — Add your first slide
Click the big “+” icon in the first slide slot.
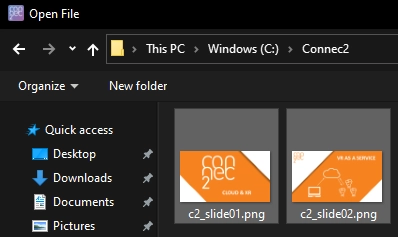
Step 9 — Select slide images
In the file dialog, select all exported slide images you want to add.
Step 10 — Reorder slides (optional)
To change slide order, drag & drop slides—just like in PowerPoint.
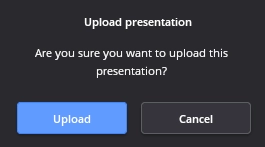
Step 11 — Publish to Connec2
Click the blue “Publish” button (top right), then blue “Upload” in the pop-up.
Step 12 — Done!
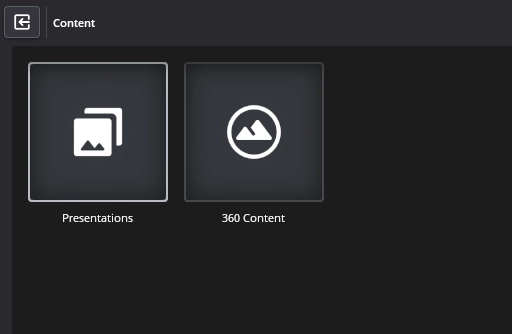
Your deck now appears in Content → Presentations and can be shown on Smart Screens inside your Virtual Workspace.