Connec2 Uplink
Uplink for Windows 10/11 (MSIX Installer)
We recommend installing Connec2 Uplink using the MSIX Installer — it’s the easiest and most secure way to get started.
You can download it from our download page.
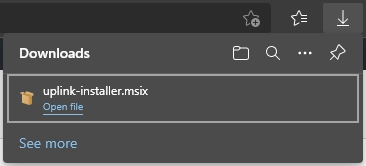
Step 1 — Run the installer
After downloading the installer, run it to start the installation wizard.
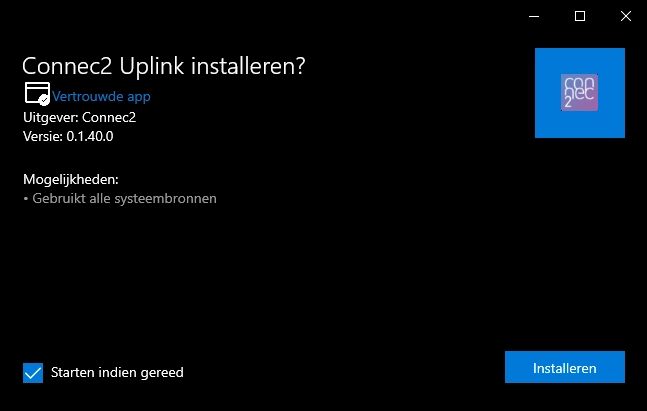
Step 2 — Follow the onscreen instructions
Follow the wizard to install Connec2 Uplink on your PC.
Step 3 — Launch Connec2 Uplink
When installation finishes, launch the app by clicking its icon.
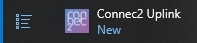
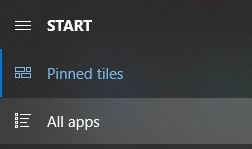
Step 4 — Find it in Start menu
You’ll find the icon in Start → All apps.
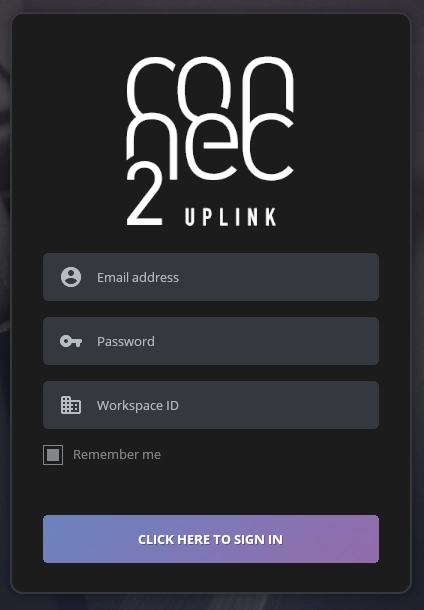
Step 5 — Sign in with your Connec2 Account
Open the app and log in using your Connec2 Account.

Uplink for Windows 10/11 (ZIP Archive)
If your IT policy prevents MSIX installations, you can install Connec2 Uplink manually via ZIP Archive.
Note: When using the ZIP version, older installations won’t be automatically removed —
you’ll need to manually delete previous versions when updating.
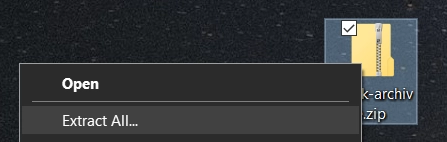
Step 1 — Extract the files
After downloading the ZIP file, right-click it and select “Extract All…”.
Running directly from the ZIP can cause issues — always extract first.
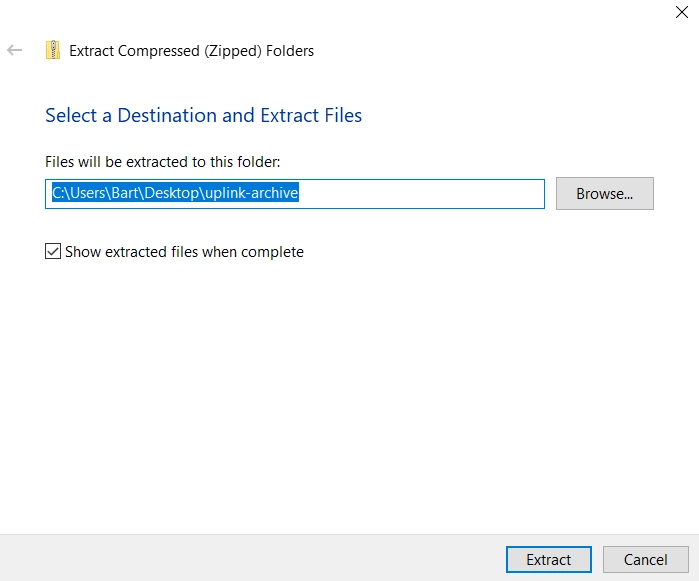
Step 2 — Choose destination
Select a folder (for example: Desktop or Documents) and click Extract.
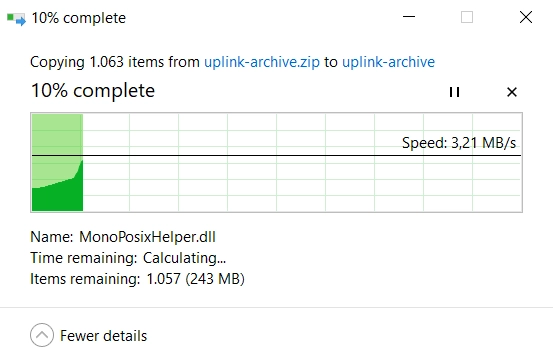
Step 3 — Wait for extraction
A progress bar will show during extraction. It will close automatically when done.
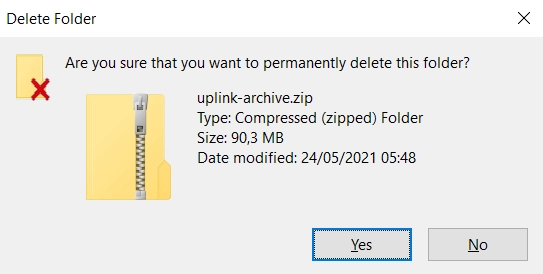
Step 4 — Delete the ZIP file
After extraction, you can safely delete the original ZIP archive (the folder with a zipper icon).
Step 5 — Launch Uplink
Open the extracted folder and double-click Connec2Uplink.exe.
Sign in using your Connec2 Account to get started.