How to give an XR demo that instantly makes an impact
A great XR demo starts with preparation.
In this article, you’ll learn what really matters: creating a demo that feels smooth, stays under control, and instantly makes an impact.
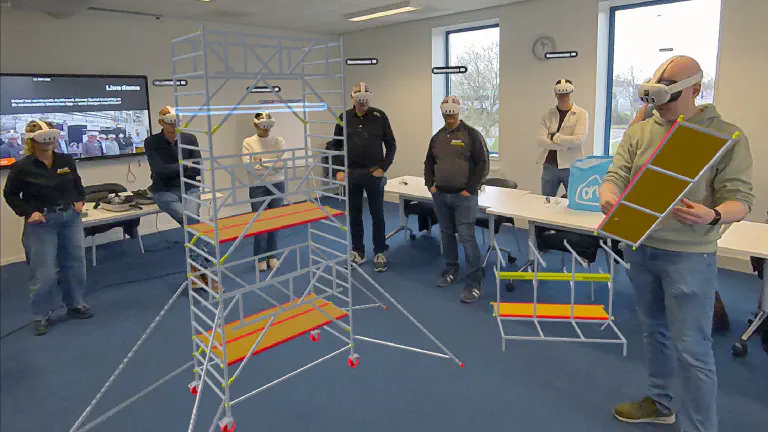
The difference is in the details
In practice, demos rarely fail because of major issues.
It’s the small moments that make or break the experience:
- a headset still booting up
- content still loading
- a model that is slightly misaligned
That’s why a good demo doesn’t start with your scenario—it starts with preparation.
Make sure everything is ready before someone puts on the headset.
Starting small gives you control
The instinct is often to show everything.
But the strongest demos actually show less—and make more clear.
The same idea applies to how you organize your demo.
During demos, it’s tempting to involve as many people as possible at once.
In practice, however, it often works better to choose smaller sessions with around 2–3 headsets at the same time.
Why?
Because every additional headset adds not only technical complexity, but also human variation.
- more network traffic
- more chance of inconsistent behavior
- more dependencies between users
But most importantly: you have less control over what people do.
One user may understand everything immediately, while another:
- needs time to get used to the controls
- looks somewhere else than expected
- or simply stands still
That’s completely normal—but in larger groups, it becomes harder to guide everyone properly.
If one user gets stuck or goes off track, you notice it immediately throughout the entire session.
By starting small:
- you maintain control over the experience
- you can better adapt to what someone needs
- and the demo remains smooth for everyone
Especially at events or trade shows, it’s often more effective to run multiple short demos rather than one large session.
Make your demo start instantly
The first few minutes matter.
If someone has to wait while you are still loading something, you lose their attention.
That’s why it’s smart to use default content—so your demo starts immediately.
Stability over speed
A demo doesn’t need to be fast—it needs to be stable.
Especially with:
- multiple users
- trade shows and events
- interactive scenarios
your network plays a major role.
Check beforehand: Network quality
Mixed Reality calibration
Mixed Reality is impressive—but only when placement is perfect.
A model that floats or appears crooked immediately breaks immersion.
That’s why calibration is not a detail, but a requirement.
See: Calibration in Mixed Reality
Stay flexible during your demo
No demo ever goes exactly according to plan.
With the Explore app, you can easily:
- load content
- show or hide models
- switch between scenarios
See: Load content
Final thoughts
A great demo feels effortless.
Not because there is no technology behind it, but because the technology doesn’t stand out.
If someone feels comfortable and immediately understands what’s happening, you’ve done it right.
Checklist: ready for your demo?
Use this checklist before you begin:
Setup
- Headset fully charged
- Headset and apps up to date
Network
- Stable Wi-Fi connection
- Speed test completed
Content
- Default content configured
- Correct scenario tested
- Content preloaded or quickly accessible
Calibration
- Floor height correctly configured in the Meta headset
- Content calibrated
- Calibration verified on other headsets
Demo flow
- Demo fully tested (from start to finish)
- Clear use case selected
- You know what you’re going to explain
During the demo
- Give short, clear instructions
- Keep the pace calm
- Stay flexible (use Explore where needed)