Getting started with Connec2
Your Connec2 workspace is ready to use. We’ll help you get started with your first login, software installation, and preparation for your first session.
Your Connec2 account
Your personal welcome email contains the details needed to set up your Connec2 account:
- your Workspace ID
- your username
- your password
The Workspace ID determines which secure workspace you connect to. You use the same account details for the web portal, XR Client, and Connec2 Uplink.
Log in to the web portal
The first step is to log in to the Connec2 web portal:
Enter your Workspace ID, then sign in using the account details from your welcome email.
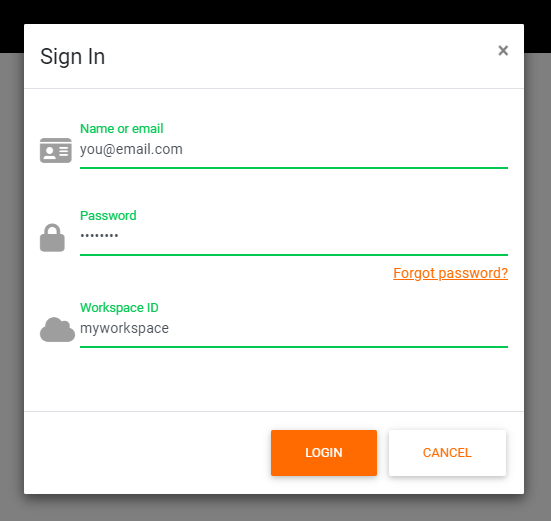
From the web portal, you can view your profile, manage users, upload content, and more.
You can find more information about accounts and profiles in the Account documentation.
Choose how you want to use Connec2
Connec2 is available on Meta Quest headsets and Windows. The route you choose depends on what you want to do.
Meta Quest
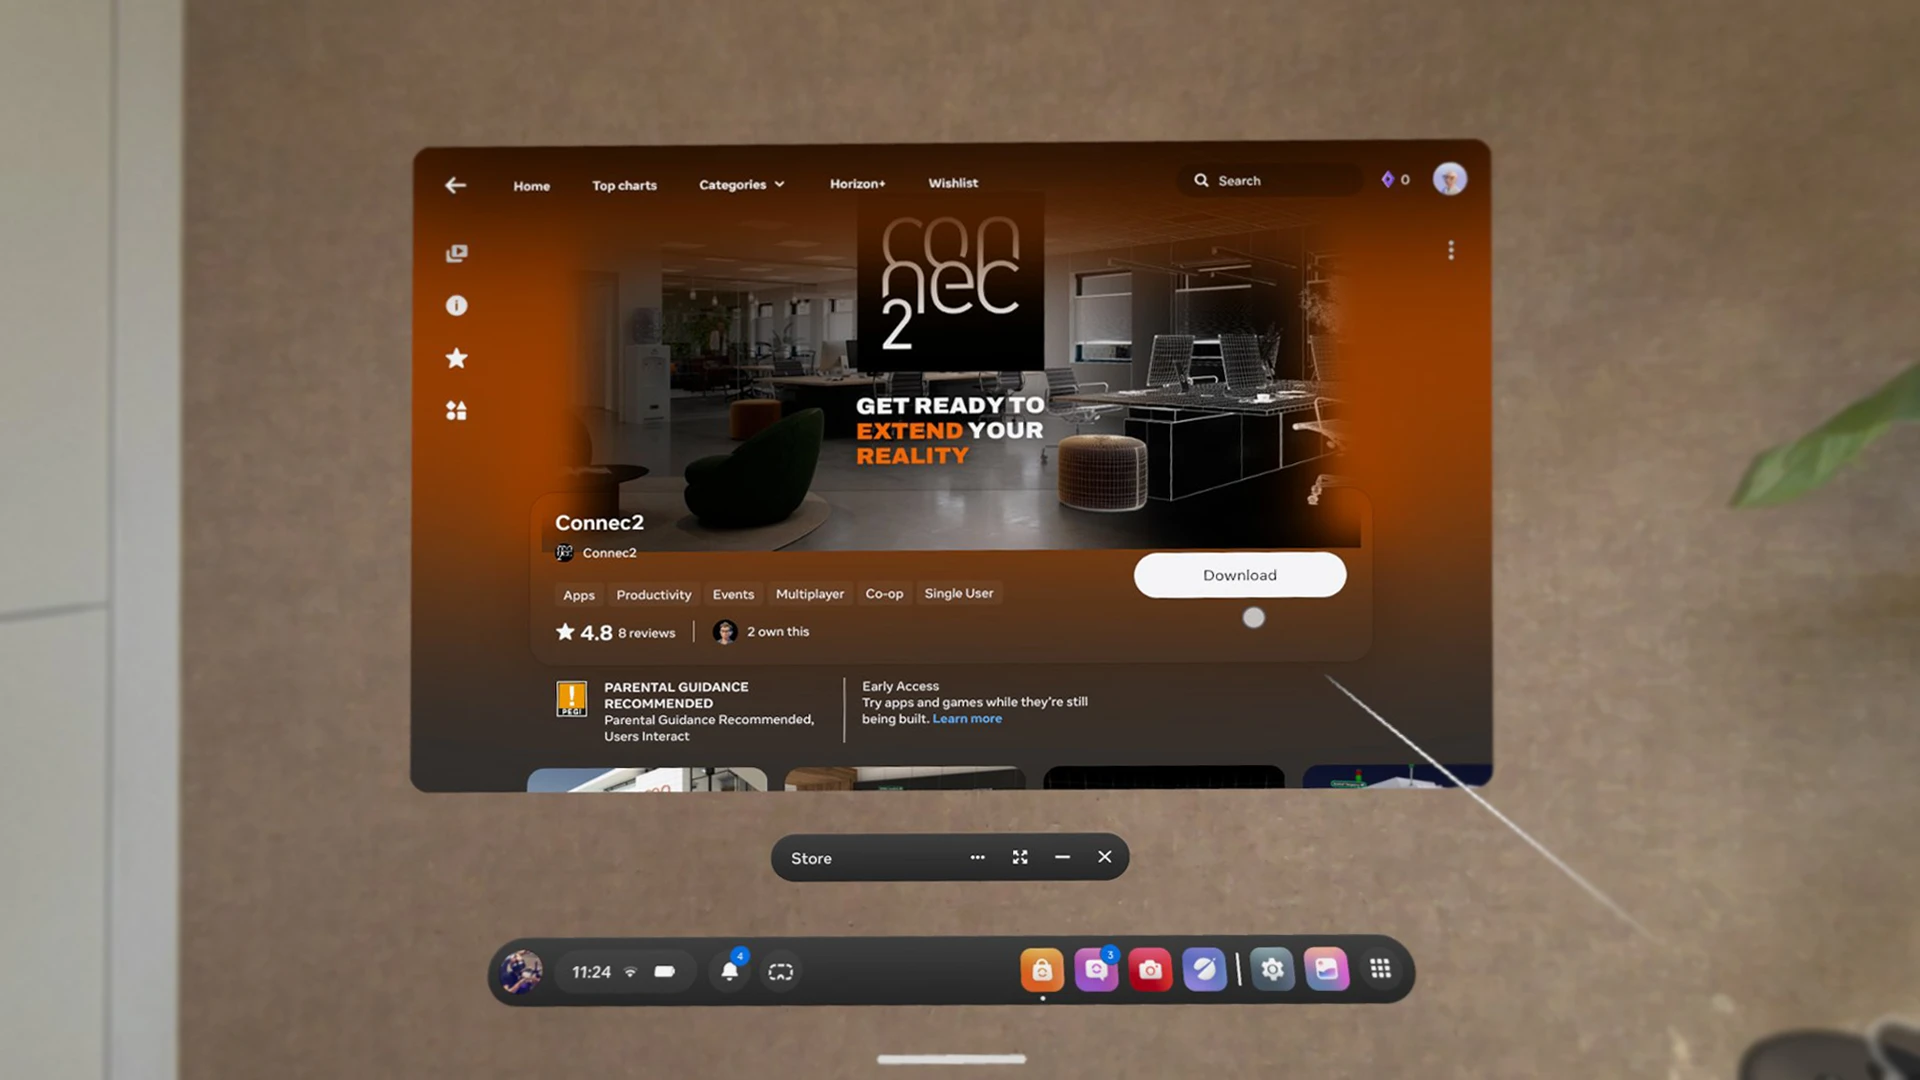
Use the Connec2 XR Client on a Meta Quest headset to experience your virtual environment in Virtual Reality or Mixed Reality.
You can download the Connec2 app from the Meta Quest Store. Updates are installed automatically afterwards.
Windows
On Windows, you use Connec2 Uplink. This is the Windows application that gives you access to different parts of the Connec2 platform.
With Uplink, you can:
- manage and upload content
- make your Windows desktop available in the virtual environment
- open the XR Client on Windows
- manage the visual branding of your workspace
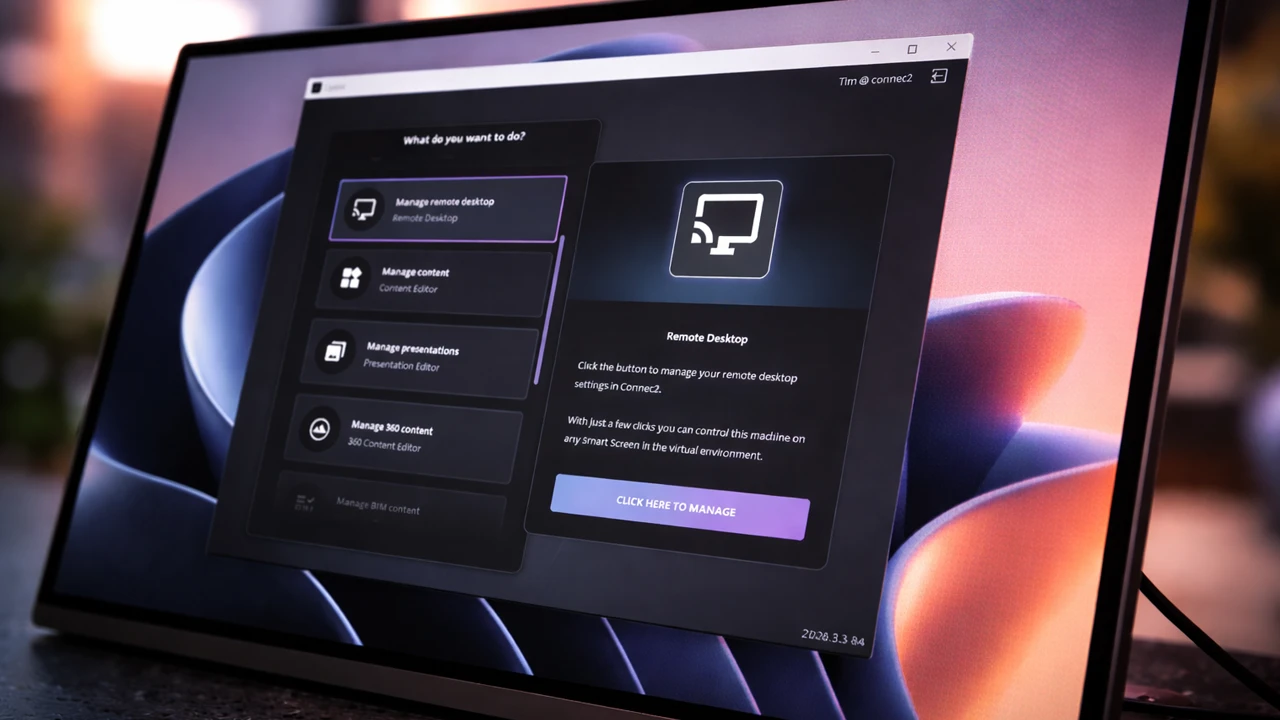
You can find the required installers on the central Software downloads page.
Configure your workspace
As a workspace admin, you have access to settings that may not be visible to other users.
Users and permissions
Every participant uses a personal Connec2 account. Through the web portal, you can create new users and assign an appropriate role.
Connec2 uses several roles:
- Admin — full access to the workspace and management features
- Power User — access to most features and limited user management
- User — access to general user features
- Guest — access to the workspace without features enabled by default
Which apps and features someone can see depends on their assigned role and additional account permissions. A useful example is assigning the Guest role to demo headsets. This limits demo users to basic actions and prevents them from making broader changes to the workspace.
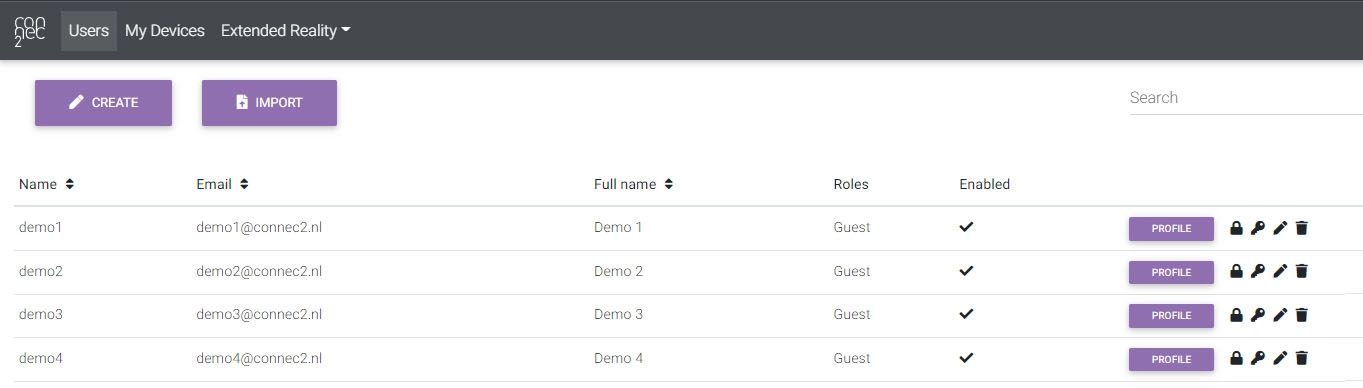
See the Account documentation for more information about users, roles, and permissions.
Starting environment and default content
The Workspace Configuration determines how users enter the workspace. You can configure:
- which space users start in
- which content is loaded by default
- whether the environment starts in Virtual Reality, Mixed Reality, or follows the headset setting
Default content lets users begin directly in a training scenario, introduction, or menu environment.
Existing content is not automatically overwritten. If someone is already working with content in the space, that session remains active when another user enters.
Add content to your workspace
Content used in Connec2 is stored within your own workspace. Other workspaces cannot access it.
You can upload different types of content through the web portal:
.glbfiles for individual 3D models- projects created with the XR Toolkit
When uploading, choose between:
- Personal — only available to your account
- Shared — available to users within the same workspace
After uploading, you can open the content through the Explore app in the XR Client.
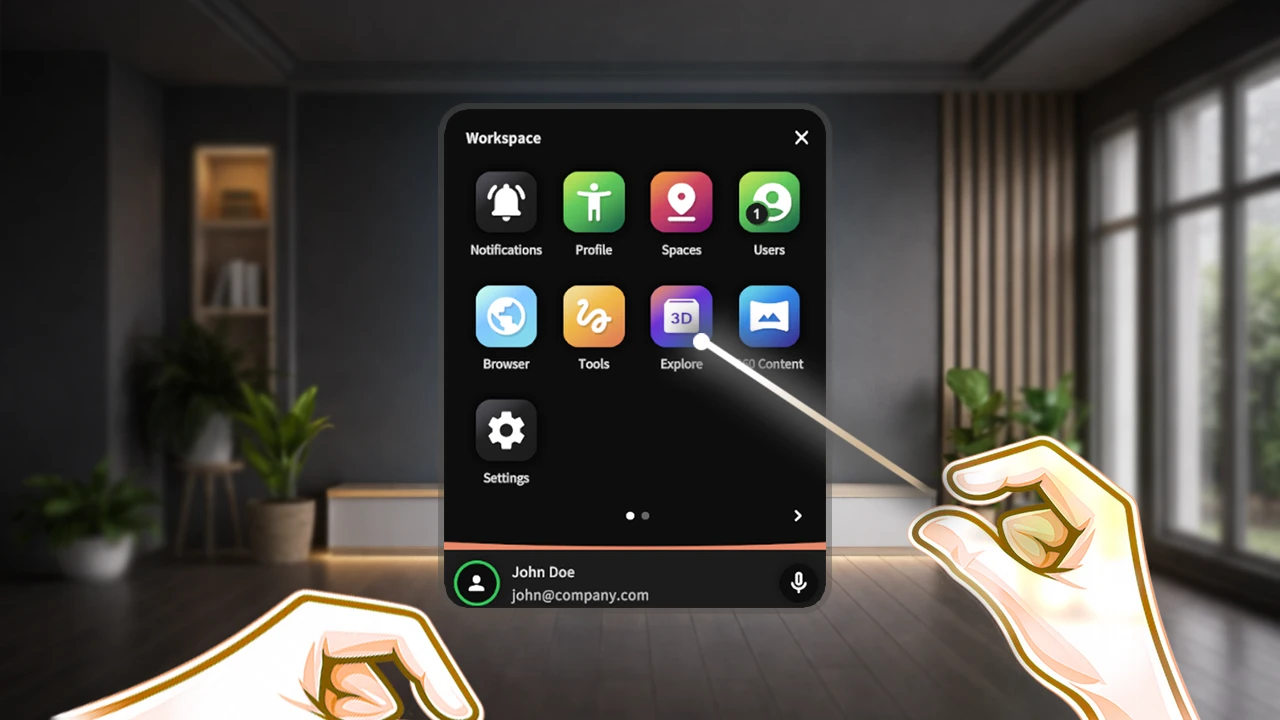
Explore allows you to combine multiple individual .glb models. You can also load one .c2prj project and enrich it with additional models.
Build interactive content with the XR Toolkit
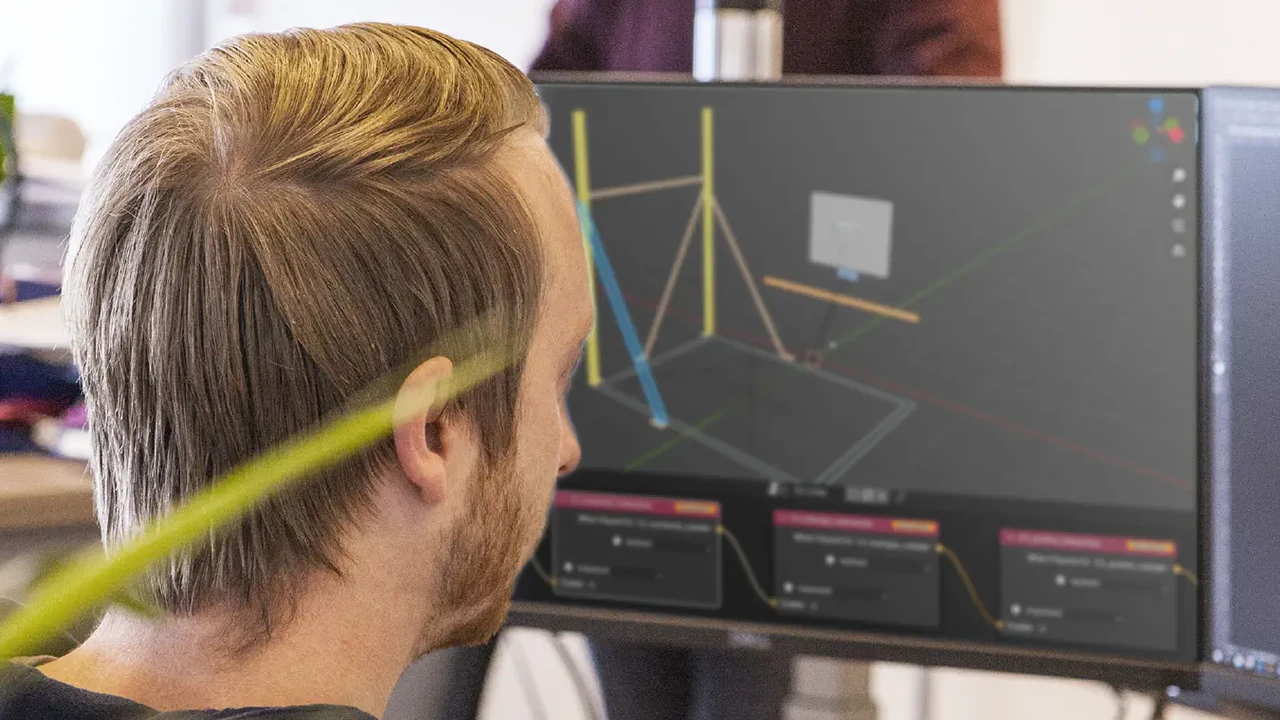
Do you want to create your own interactive training scenarios or experiences? Use the Connec2 XR Toolkit for Blender.
With the XR Toolkit, you can:
- work from an existing or new 3D model
- add interactive Building Blocks
- build logic in a Workflow
- export everything to a Connec2 project file
The XR Toolkit documentation includes a complete step-by-step guide, from installation to publishing and loading your first project.
Prepare your first session
Before starting with a larger group, we recommend testing the complete user flow once.
Check whether:
- the headsets and controllers are charged
- the Meta software and Connec2 app are up to date
- all users can log in
- the correct content is available
- the network is stable enough
- Mixed Reality content is calibrated correctly
For an initial test, a small session with two or three headsets often works better than one large session. It gives you more oversight and makes it easier to guide users who are still getting used to the controls.
For Mixed Reality, first make sure the floor level and boundary are configured correctly in the Meta headset’s system settings. You can then use Connec2 to position the virtual content within the physical space.
Where can you find more information?
The documentation is divided into four main sections:
The Technical specifications section is mainly intended for IT and network administrators. It contains information about platform infrastructure, security, and the required DNS and firewall settings. This is useful when your network provides limited internet access. You can share these settings with your IT or network administrator so they can make any necessary network changes to better support Connec2 sessions.
Ready for your first session?
Use this short checklist before you begin:
- You can log in to the web portal
- Uplink or the XR Client is installed
- Each user has a personal account
- The correct content has been uploaded
- The content has been tested in the XR Client
- Mixed Reality content has been calibrated
- The network and headsets have been checked